
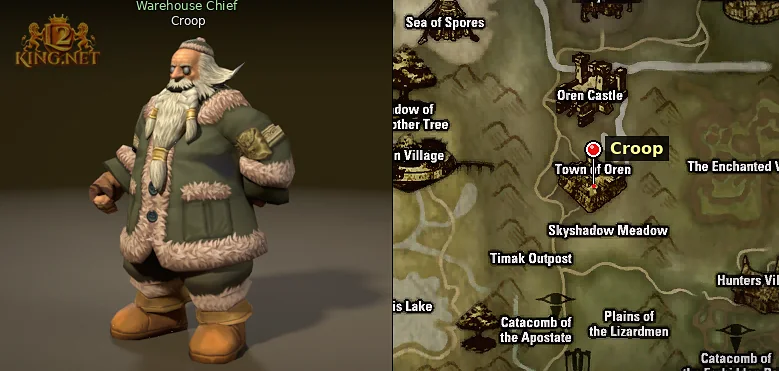
The Seven Signs quest is a chain of twelve story quests: the seven from Gracia Epilogue start at level 79 with Croop in Oren, the five from Freya at level 81, and each one opens only after the previous. Along the way you get six solo instances, disguises, Emperor Shunaiman's seals and the Etis van Etina boss, and the whole series pays 930,216,180 XP, Dawn's Bracelet and Certificate of Dawn.
- Level
- from 79 (Gracia Epilogue parts), from 81 (Freya parts)
- Who can take it
- any character, race and class don't matter
- Start
- Croop, the warehouse in Town of Oren
- Quests
- 12 — from Series of Doubt to One Who Seeks the Power of the Seal
- Reward
- 930,216,180 XP and 99,812,121 SP for the series, Dawn's Bracelet,
 Ancient Adena and Certificate of Dawn
- Repeatable
- no, each part can be done only once
The five Freya parts can be turned in only on your main class: on a subclass the character is refused and the quest won't close.
Seven Signs quest walkthrough, part by part
| Step | Where | What to do | What you get |
|---|---|---|---|
| 1 | Oren, surroundings | Series of Doubt: find Jacob's body and take the letter to Hollint | 52,518,015 XP, 5,817,677 SP |
| 2 | Oren, Enchanted Valley | Dying Message: bring Cain the herb and kill Shilen's Evil Thoughts | 52,518,015 XP, 5,817,677 SP |
| 3 | Town of Aden and surroundings | Mammon's Contract: three disguises from Colin | 52,518,015 XP, 5,817,677 SP |
| 4 | Town of Gludio, instance | Secret Ritual of the Priests: sneak into the sanctuary and find the contract | 52,518,015 XP, 5,817,677 SP |
| 5 | Heine, Disciple's Necropolis | Seal of the Emperor: collect 4  Seal of Binding | 52,518,015 XP, 5,817,677 SP |
| 6 | Aden, Town of Goddard, Rune Township | The Sacred Book of Seal: kill Shilen's Evil Thoughts and take the text from Sophia | 52,518,015 XP, 5,817,677 SP |
| 7 | Aden, instance | Embryo: the fight at Franz | 315,108,090 XP, 34,906,059 SP, Dawn's Bracelet, 1,500,000 Ancient Adena |
| 8 | Beast Farm, Elcadia's tent | Girl of Doubt: 10 marks from golems and two mobs in the tent | 10,000,000 XP, 1,000,000 SP |
| 9 | Rune, instance | Forbidden Book of the Elmore-Aden Kingdom: find the book in the library | 15,000,000 XP, 1,500,000 SP |
| 10 | Monastery of Silence | To the Monastery of Silence: the four right tables | 25,000,000 XP, 2,500,000 SP |
| 11 | Monastery of Silence | Solina's Tomb: relics, guardians and the tomb | 125,000,000 XP, 12,500,000 SP |
| 12 | Monastery of Silence, tent, Aden | One Who Seeks the Power of the Seal: kill Etis van Etina | 125,000,000 XP, 12,500,000 SP, Certificate of Dawn |
How the Seven Signs series works
What follows is based on the Mobius build; some servers differ. The starting NPC hands out the next part only once the previous one is done, and your level must be at least 79 for the first seven and 81 for the last five. On the first seven the level is checked again at turn-in: if you dropped below 79 after a death, you get no reward until you regain the level. A subclass doesn't get in the way on those seven parts, but the Freya parts can be turned in only by the main class — switch and talk again.
All six instances are solo: only the one who entered gets inside, and pets and summons can't come along. Disciple's Necropolis, Hideout of the Dawn and Monastery of Silence strip all buffs. The sanctuary and the necropolis give you 60 minutes, Monastery of Silence also 60, Elcadia's tent 45, Hideout of the Dawn and the library 30.
Step 1. Series of Doubt — Croop in Oren
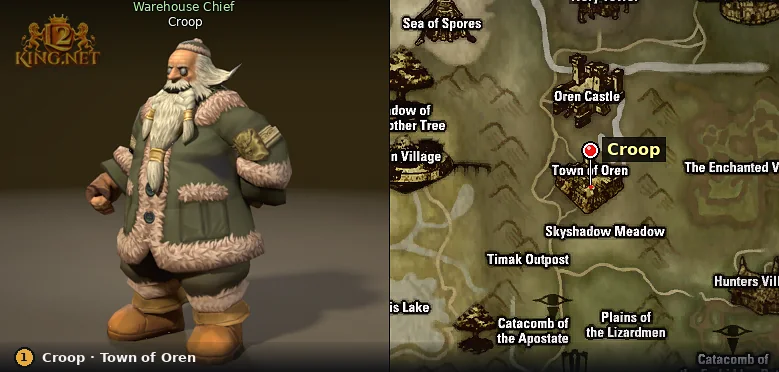
Croop stands by the Oren warehouse, 1,800–2,200 southwest of the teleport. After the cutscene he gives you a letter of recommendation: take it to Hector (1,700–2,100 west of the teleport), who sends you on to Stan (3,100–3,700 south-southwest). Jacob's body — Unidentified Body — lies 15,000–16,500 north-northeast of the teleport: click "Prise the fingers open." and take Jacob's Necklace. Croop swaps the necklace for a letter to Hollint, who stands by the Einhasad Temple in Oren; hand the quest in to him.
Step 2. Dying Message — Cain and the first fight
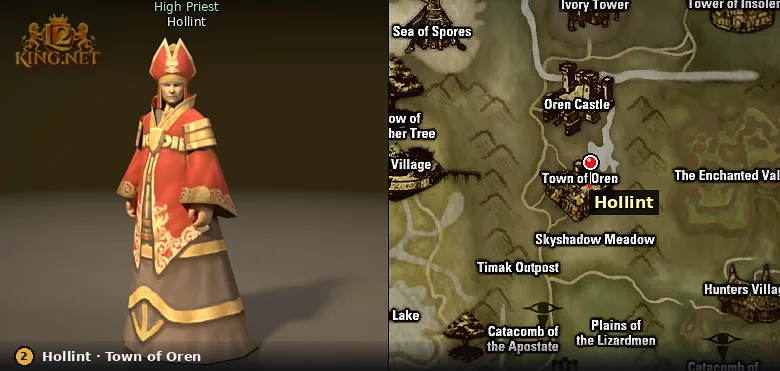
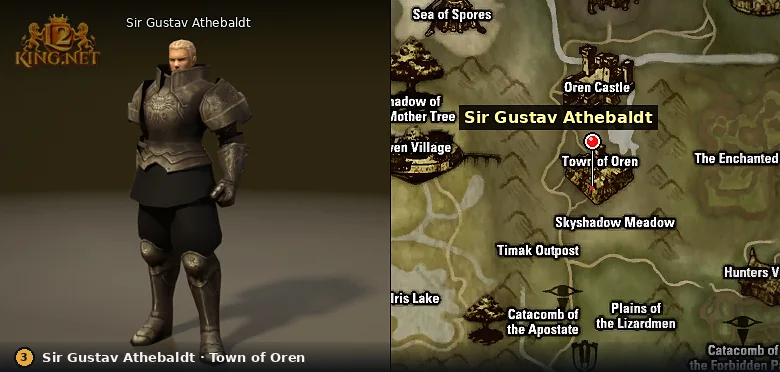
Hollint immediately gives you the second part and a new Jacob's necklace. Take it to Cain, 5,500–6,500 north of the arrival point in Oren. Cain sends you for Deadman's Herb to Eric, who stands 700–900 south-southwest of the Southern Pathway of Enchanted Valley teleport. Return to Cain with the herb, watch the cutscene and click "Look around." — a level 79 Shilen's Evil Thoughts appears. Stay within 600 of Cain: he heals you every 10–30 seconds. You get 5 minutes for the fight, otherwise the mob disappears and you'll have to summon it again. The Sculpture of Doubt goes to whoever killed the mob, so land the killing blow yourself. The quest is turned in to Sir Gustav Athebaldt, 4,000–5,000 southwest of the Oren teleport.
Step 3. Mammon's Contract — three forms from Colin
After the cutscene Gustav gives you a letter for Colin, who stands 3,300–4,000 south-southeast of the Aden teleport. Colin changes your form three times, and in each one you have to talk to a single NPC. As a frog, talk to Frog (11,000–12,500 north-northwest of the Forest of Mirrors teleport from Aden; from the Hunters' Village it is Entrance to the Forest of Mirrors) for Frog King's Bead; as a child, to Tess (13,000–14,500 east of the Southern Pathway of Enchanted Valley teleport) for Grandma Tess' Candy Pouch; as a native, to Kuta (3,300–4,000 west of the Coliseum teleport) for Native's Glove. A form lasts from 215 to 520 seconds and removes speed buffs, so run without stopping. If the form wears off early, Colin transforms you again. The quest is turned in to Claudia Athebaldt, 8,500–10,000 north-northeast of the Aden teleport.
Step 4. Secret Ritual of the Priests — the sanctuary of the Dawn
Claudia sends you to Gludio. John, 1,700–2,100 northwest of the teleport, gives you the Guards of the Dawn Identity Card, and Raymond by the Einhasad Temple turns you into a guard and tells you the password, 72.79.78.71 — four numbers separated by dots. The entrance is Light of Dawn by the Gludio gatekeeper: he lets you in only with the card and in disguise.
Level 85 guards of the Dawn patrol inside: once they spot you, they send you back to a checkpoint. The game itself hints at the first door: male guards see stealth, female guards don't, but female guards notice a disguise from afar. At both Identity Confirm Devices click "Insert the card." — the doors open — and at the Password Entry Device choose "Code Input 72.79.78.71"; any other code sends you back. At the Bookshelf of Dawn click "Search through the books carefully." — the shelf gives up Emperor Shunaiman's Contract and offers an exit. Return to Raymond: he takes the card and removes the disguise. The quest is turned in to Iason Heine by the Heine warehouse.
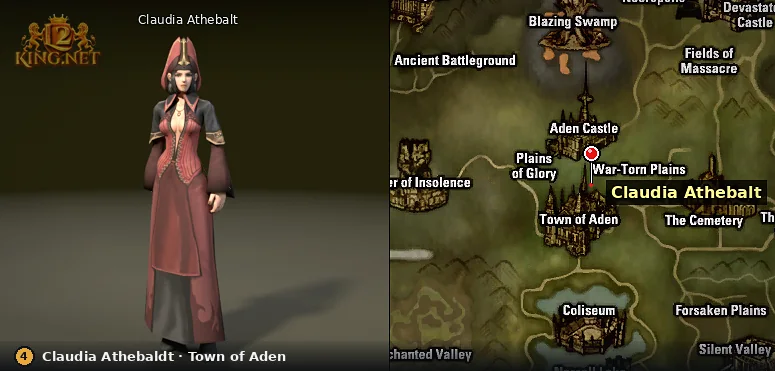
Step 5. Seal of the Emperor — the seals in the necropolis
Iason summons the Merchant of Mammon with the "Put it down!" button for 2 minutes, and the merchant talks only to whoever came up first. After talking to him, go back to Iason and then to Promise of Mammon at the entrance to Disciple's Necropolis — 100–400 from the teleport point.
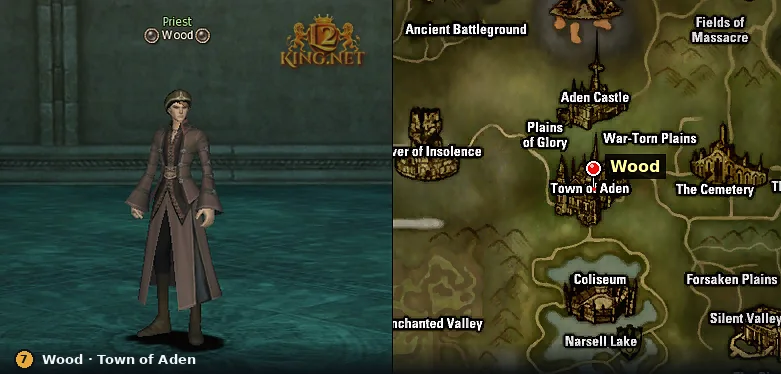
In the necropolis's past, Emperor Shunaiman gives you Elmoreden Holy Water and the Sacred Sword of Einhasad, and the Court Magician gives you the Court Magician's Magic Staff. The water and the staff open the enchanted doors, while the sword strikes a cone in front of you with  Einhasad's Strike at power 10,000 — exactly 10,000 damage that defense does not reduce — with a 4-second reuse — it is the weapon against Lilims. The doors open as you kill: after 4, 10, 18, 28 and 40 mobs. Behind the last door are four immortal Seal Devices: knock one of them below 10% HP and you get a Seal of Binding. The devices answer with an area hit, so keep your HP high. Hand the four seals to Shunaiman, leave through Leon and return to Iason. The quest is turned in to Wood in Aden, 1,900–2,300 north of the teleport.
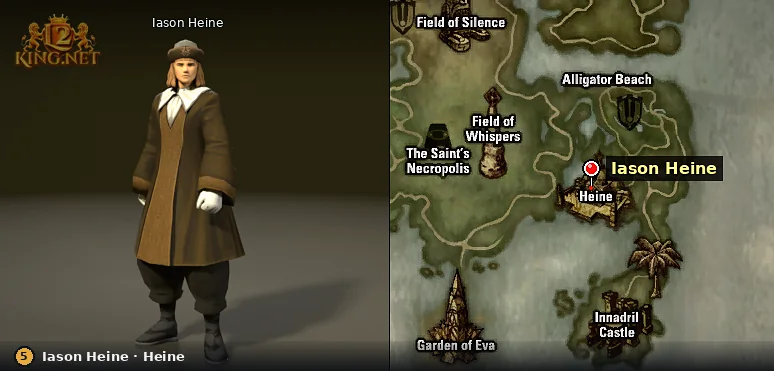
Step 6. The Sacred Book of Seal — Goddard and Rune
Wood sends you to Orven by the Einhasad Temple in Aden, who sends you to Leopard by the Goddard gatekeeper. Leopard's teacher, Lawrence, stands 4,500–5,500 east-northeast of the arrival point in Goddard and summons Shilen's Evil Thoughts — the second fight of the series, this time without healing, again with a 5-minute limit. Land the killing blow yourself and keep the sculpture on you until the quest is turned in. Then Sophia in Rune, 1,200–1,600 south, slightly east, of the teleport, gives you the Mysterious Hand-written Text — take it to Wood.
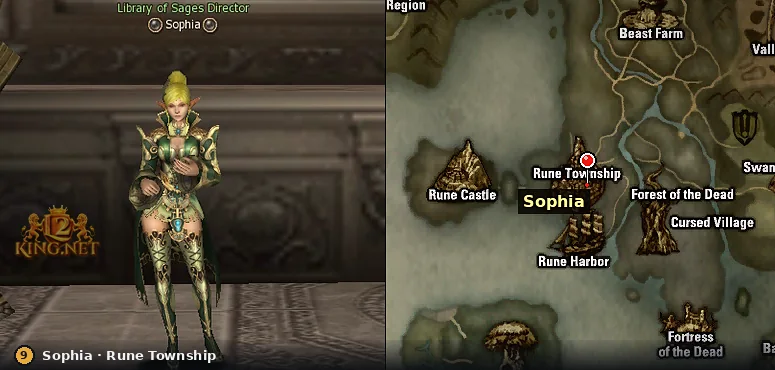
Step 7. Embryo — the Gracia Epilogue finale
Wood teleports you to the Hideout of the Dawn. There, at Franz, click "Look around." — the third fight, with Shilen's Evil Thoughts; Franz heals like Cain. After the cutscene give the sculpture to Franz, leave through Jaina and go back to Wood. This is the richest part: 315,108,090 XP, 34,906,059 SP, 1,500,000 Ancient Adena and Dawn's Bracelet — a left S-grade bracelet that raises the weight limit by 5000. You can't trade, sell, drop or store it in a warehouse.
Step 8. Girl of Doubt — Elcadia's marks
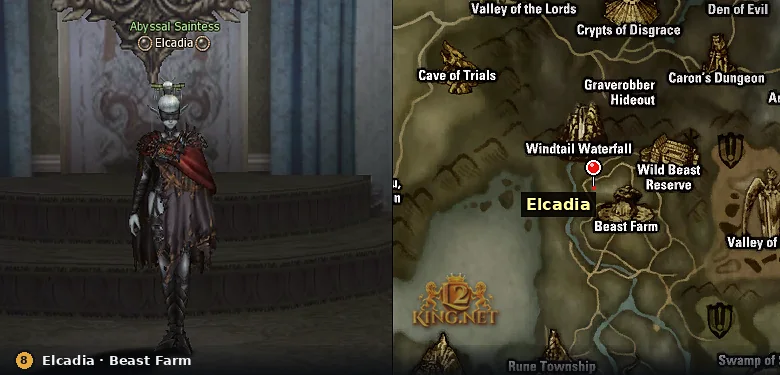
From level 81 Wood gives you the first Freya part and sends you to Franz again. Next comes Elcadia's tent: the entrance is through the Gruff-looking Man, 400–550 west-southwest of the Beast Farm teleport. Elcadia asks for 10 Elcadia's Mark.
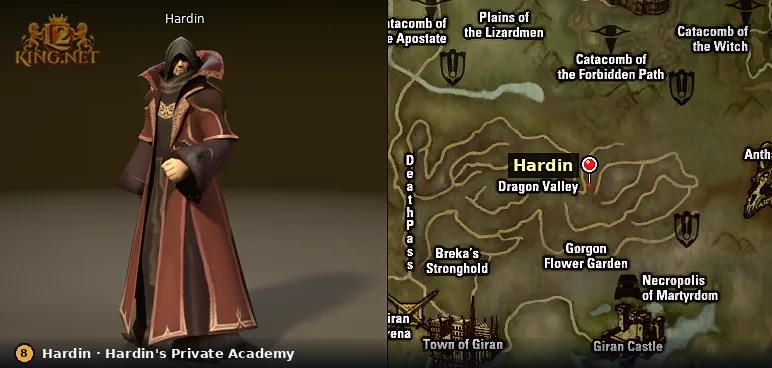
In conversation Elcadia names the Beast Farm mobs, but according to the game data the marks drop only from golems — the level 72 Cruel Pincer Golem and the level 73 Horrifying Jackhammer Golem, 2,000–3,000 east-southeast of the Farbel Ruins teleport. At x1 rates you need 14–15 golems on average. Hand over the marks, click "Absolutely!" and kill two level 79 Creatures of the Dusk right in the tent. Then talk to Hardin, 4,000–5,000 south of the Hardin's Private Academy teleport, and turn the quest in to Elcadia.
Drop: Cruel Pincer Golem, Horrifying Jackhammer Golem · chance 70% · needed 10 pcs
| Quest drop rate | Kills on average | Safe margin (90%) |
|---|---|---|
| x1 | 15 | 18 |
| x3 | 5 | 5 |
| x5 | 3 | 3 |
| x7 | 3 | 3 |
| x10 | 2 | 2 |
| x50 | 1 | 1 |
| x100 | 1 | 1 |
A server may multiply quest drops differently from its main rate: check the exact multiplier in the server description.
Step 9. Forbidden Book of the Elmore-Aden Kingdom — the library
Elcadia sets up a meeting with the "Plan to meet at the Rune's Library." button. Sophia in Rune teleports you to the Library of Sages, where Elcadia follows you. Inside, the conversations go in turn: Sophia, Elcadia, Sophia again, Elcadia and Sophia. Of the five Piles of Books you need the southernmost one — it gives Solina's Biography, the rest are empty. Show the book to Elcadia in the library, then turn the quest in to Elcadia in her tent.
Step 10. To the Monastery of Silence — the four tables
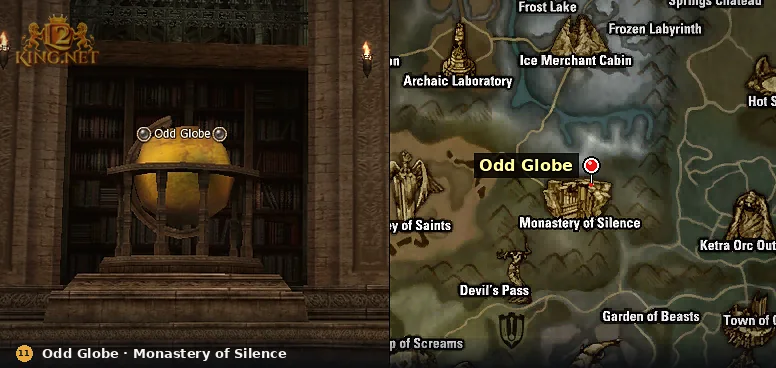
The entrance is Odd Globe, 9,500–12,000 east-southeast of the Monastery of Silence teleport you reach from Goddard; from the same-named teleport you reach from Rune, it is 9,500–13,000 northwest. Inside, Elcadia follows you: she heals you in combat on her own, and the "Request for Elcadia's blessing" button gets you a 10-minute buff. Eris's Evil Thoughts teleports you to the central hall with the "Send me there." button. From there the devices lead to four rooms, each with four tables, and the right one is the northern table. The eastern table starts a fight with Guide Solina and two Solina Lay Brothers, the other three give buffs. After all four, talk to the Relic Guardian and return to Eris for the reward.
Step 11. Solina's Tomb — relics and guardians
Eris teleports you to the tomb with the "Yes!" button. The hall has four Altars of Hallows, the relics are taken one at a time, and each has its own Powerful Device barrier: Scroll of Abstinence — north, Shield of Sacrifice — east, Sword of Holy Spirit — south, Staff of Blessing — west. An inserted relic summons a level 80 Solina's Guardian. The altar hall holds 57 level 80 mobs — clear the way from the altar to the barrier. After the four guardians a Teleport Control Device sends you to the Tomb of the Saintess: four Guardians of the Tomb and 16 level 80 mobs attack there. Kill the four guardians, talk to Solina's Evil Thoughts, Solina herself and Solina's Evil Thoughts again, then turn the quest in to Eris.
Step 12. One Who Seeks the Power of the Seal — the Etis van Etina boss
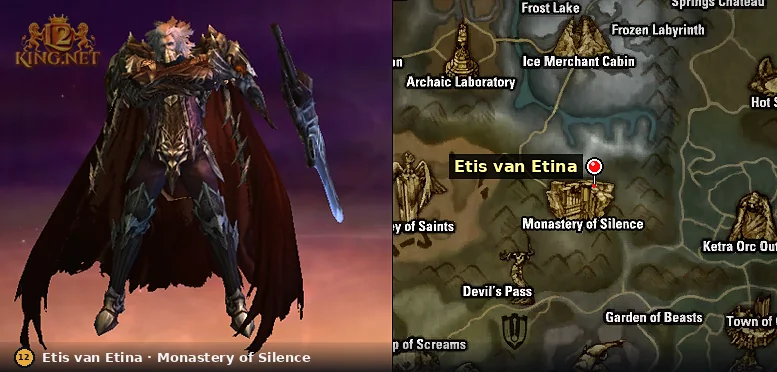
Eris hands out the last part too. You can skip the cutscene with the "I fee like going directly to boss battle." button (spelled that way in the game) — you are teleported straight to the level 84 Etis van Etina, and Elcadia goes with you. The boss is undead, hits with earth and stuns. After the victory Elcadia leads you out of the monastery. Then comes a round trip: Elcadia in her tent, Hardin, Wood and Franz in the Hideout of the Dawn. Franz gives 125,000,000 XP, 12,500,000 SP and the Certificate of Dawn.
Wood exchanges the Certificate of Dawn for a Forgotten Scroll: his dialogue has an "Exchange the Certificate of Dawn for a Forgotten Scroll." button that opens a list of 17 scrolls —  Deflect Magic,
 Sixth Sense, Meteor,
 Star Fall and others. You get one scroll and the list is the same for everyone, so pick the skill of your own class; it is learned from level 81.
If it doesn't work
Cain, Lawrence or Iason say they are busy?
Shilen's Evil Thoughts is dead but there's no sculpture?
Light of Dawn won't let you into the sanctuary?
Elcadia, Eris or Franz won't give the reward for the Freya parts?
Elcadia's marks don't drop from Beast Farm mobs?
More story quests for XP and rare rewards are collected in the section on useful L2 quests. A server where both halves of the series are open — Gracia Epilogue and Freya — can be found in the L2 server list for High Five.
FAQ
What level is the Seven Signs quest?
The first seven parts start at level 79 with Croop in Oren, the last five at level 81. Each part opens only after the previous one.
What do the Seven Signs quests give?
The whole series gives 930,216,180 XP and 99,812,121 SP, Dawn's Bracelet, 1,500,000 Ancient Adena for Embryo and Certificate of Dawn for the last part, which Wood exchanges for a Forgotten Scroll.
Can you do the Seven Signs quest on a subclass?
The first seven parts, yes. The five Freya parts can be turned in only on your main class.
Can you do the series in a party?
All six instances are solo. In the Shilen's Evil Thoughts fights for Cain and Lawrence, the quest character has to land the last hit: the sculpture goes to whoever did, and the mob can't be summoned a second time.
What is the password in Secret Ritual of the Priests?
72.79.78.71: Raymond in Gludio tells it, and you enter it at the Password Entry Device inside the sanctuary.